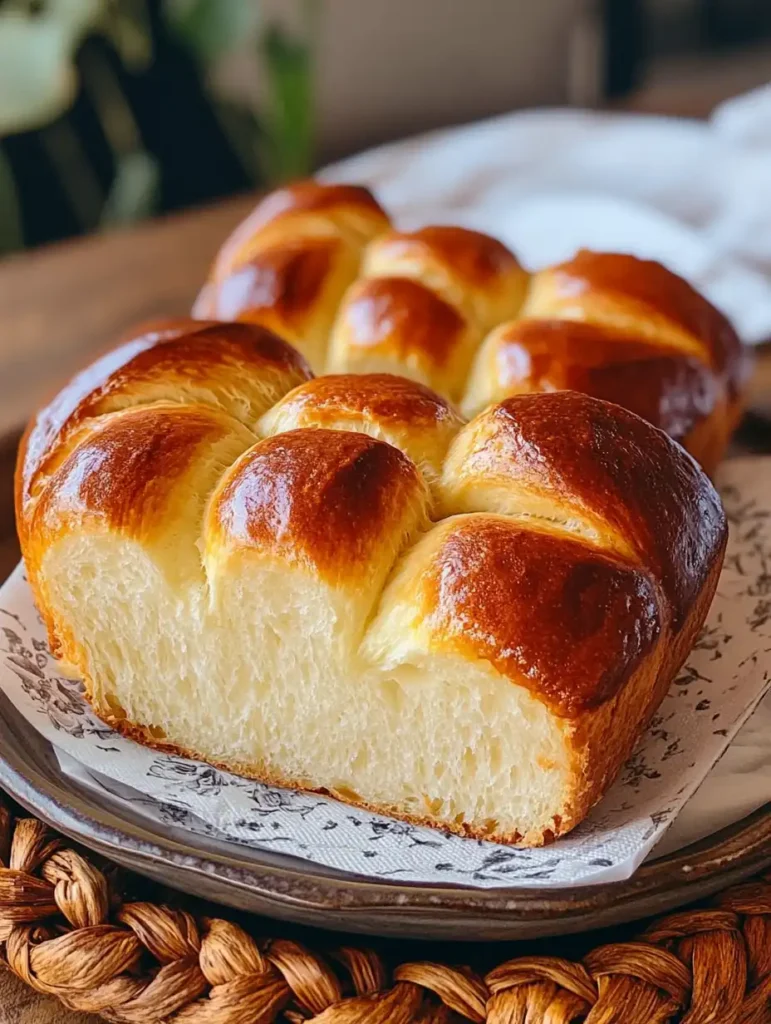
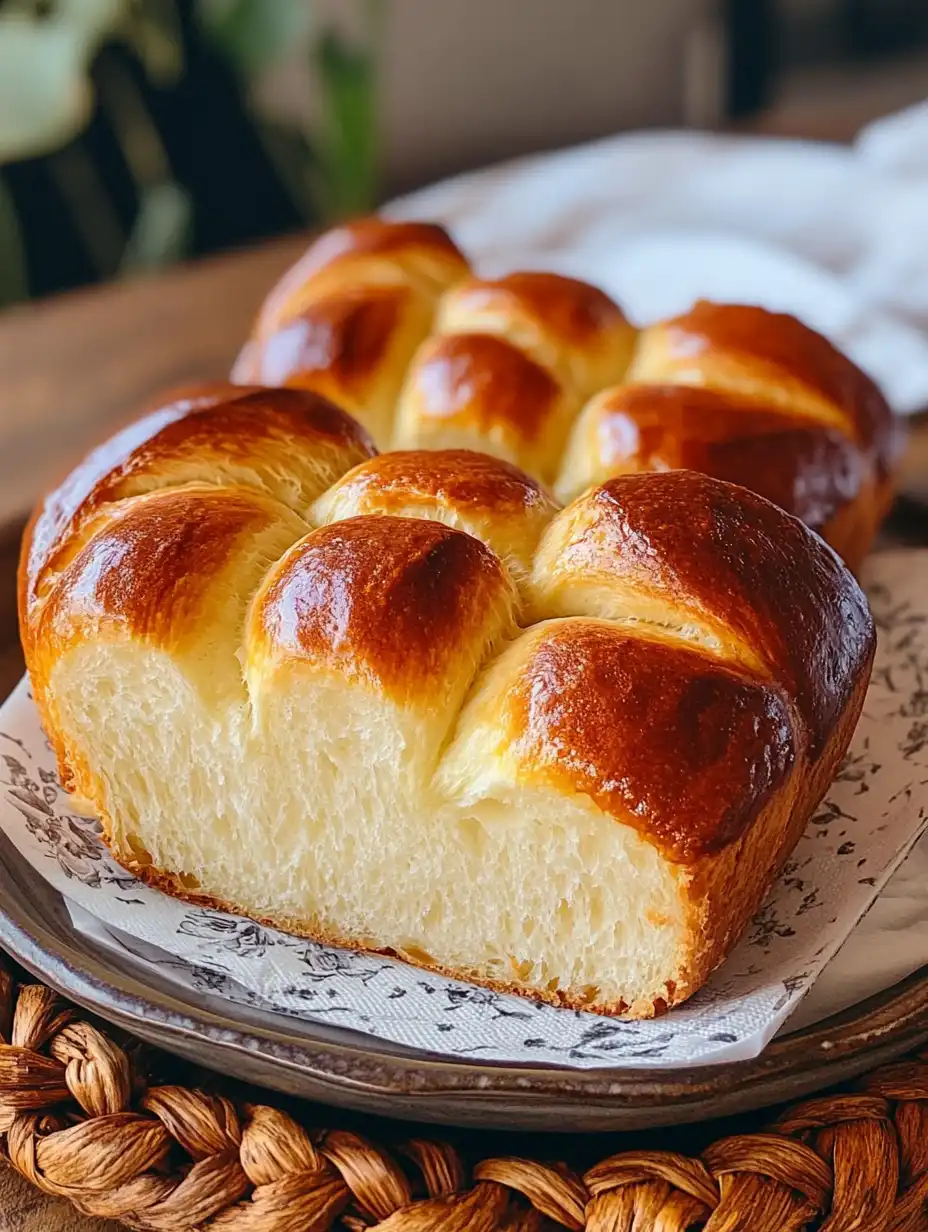
There’s something magical about the smell of freshly baked bread wafting through your kitchen, and few breads are as indulgent and rewarding as a homemade brioche. With its rich, buttery flavor and soft, pillowy texture, brioche is the ultimate treat for breakfast, brunch, or even dessert.
While it does require some patience and planning, the process is truly worth it. Today, I’m sharing Judy’s Homemade Brioche Recipe—a two-day journey that ends with two glorious loaves of golden perfection.
Why Make Brioche at Home?
Brioche is a versatile bread that can be enjoyed in countless ways. Toast it with a dollop of jam, use it as the base for French toast, or pair it with savory toppings for a gourmet sandwich. Store-bought brioche may be convenient, but nothing compares to the flavor and texture of homemade bread. Plus, making brioche from scratch allows you to appreciate the artistry of bread-making and create something truly special for your family or guests.
Recipe Overview
This recipe yields two loaves of brioche and requires two days to complete. The dough is rich with eggs and butter, giving it its signature flavor and texture. While the process involves multiple steps, each one is straightforward, so don’t let the timeline intimidate you!
Servings: 20 slices (10 slices per loaf)
Prep Time: 2 days
Cook Time: 40 minutes
Total Time: 2 days + 40 minutes
Ingredients
Here’s what you’ll need to make Judy’s Homemade Brioche:
- 6 eggs (at room temperature)
- 1 cup unsalted butter (2 sticks/230g, softened)
- 4 ¾ cups all-purpose flour (620g, divided)
- 1 tablespoon active dry yeast (9g)
- ¼ cup granulated sugar (50g)
- 1½ teaspoons salt (8g)
- ½ cup warm water (120ml, about 120°F/49°C)
- 2 teaspoons sugar (10g, dissolved in 1 tablespoon/15ml water for finishing)
Step-by-Step Instructions
Day 1: Preparing the Dough
- Bring Ingredients to Room Temperature:
A few hours before you start, take out the eggs and butter to let them reach room temperature. This ensures smoother incorporation into the dough. - Mix the Base Ingredients:
In the bowl of an electric mixer fitted with a paddle attachment, combine 1 cup of flour (130g), active dry yeast, granulated sugar, and salt. Add the warm water (about 120°F/49°C) and mix on medium speed until well-combined. - Add Eggs:
Add one egg at a time to the mixture, ensuring each egg is fully incorporated before adding the next. This step is crucial for achieving a smooth and cohesive dough. - Incorporate Flour Gradually:
Set the mixer to low speed and add 2 cups of flour (260g), a quarter cup at a time. Allow the mixer to work until the flour is fully integrated into the dough. - Add Butter:
Cut the softened butter into small chunks and add them to the dough in six batches. Mix on medium speed, waiting for each batch of butter to be fully incorporated before adding more. - Finish with Flour:
Lower the mixer speed again and add the remaining 1¾ cups of flour (230g), a quarter cup at a time. The dough will be sticky—closer to a thick batter—but this is exactly how it should be! - Proof the Dough:
Clean off the mixing paddle and scrape down the sides of the bowl with a rubber spatula. Cover the bowl with plastic wrap or a plate and let the dough proof at room temperature (about 70°F/21°C) for 3 hours until it doubles in size. - Refrigerate Overnight:
After proofing, punch down the dough to deflate it completely. Cover it again and refrigerate overnight. This step allows the flavors to develop and makes the dough easier to handle for shaping on Day 2.
Day 2: Shaping and Baking
- Divide and Shape:
Remove the chilled dough from the refrigerator and divide it into two equal pieces. On a lightly floured surface, shape each piece into a loaf that fits snugly into a 9″ x 5″ loaf pan. You can use a rolling pin to help shape the dough if needed—just roll it lengthwise like a cigar for a rounded top. Alternatively, you can braid or shape individual buns if you prefer! - Final Proof:
Cover each loaf pan tightly with plastic wrap and let the dough proof at room temperature for 2½ to 3 hours until doubled in size. - Bake:
Preheat your oven to 350°F/180°C while the dough is finishing its proofing stage. Bake the loaves in the center of your oven for 37–40 minutes. If the crust starts to darken too quickly, tent the loaves with foil to prevent over-browning. - Sugar Water Glaze:
While the bread is baking, dissolve 2 teaspoons of sugar in 1 tablespoon of water. When you remove the bread from the oven, immediately brush the tops with this sugar water glaze for a shiny finish. - Cool Down:
Let the loaves cool in their pans for 5 minutes before transferring them to a cooling rack. This step is important to prevent the bread from falling apart while still warm.
Serving Suggestions
Once cooled completely, your brioche can be stored in an airtight container or zip-lock bag to keep it fresh—though we doubt it’ll last long! Serve slightly warm with softened butter for an irresistible treat, or get creative with how you enjoy your brioche:
- Breakfast: Toast slices and top with jam, honey, or Nutella for a sweet start to your day.
- Brunch: Make decadent French toast or use brioche as a base for eggs Benedict.
- Dessert: Pair slices with whipped cream and fresh fruit for an elegant dessert option.
- Savory: Use brioche buns for burgers or sandwiches—its buttery richness complements savory fillings beautifully.
Tips & Notes
- Plan Ahead: This recipe requires two days to complete, so make sure you have enough time set aside for proofing and chilling the dough overnight.
- Don’t Rush Proofing: Allowing ample time for proofing ensures your bread rises properly and develops its signature airy texture.
- Monitor Baking Closely: Brioche can brown quickly due to its high butter content—tent it with foil if needed to avoid over-darkening while baking.
Nutrition Facts (Per Serving)
Calories: 220kcal | Carbohydrates: 26g | Protein: 5g | Fat: 11g | Saturated Fat: 6g | Cholesterol: 74mg | Sodium: 195mg | Fiber: 1g | Sugar: 3g
Final Thoughts
Making homemade brioche is more than just baking—it’s an experience that connects you to centuries-old traditions of artisanal bread-making. While it takes time and effort, there’s nothing quite like pulling golden loaves out of your oven that you’ve nurtured from scratch. Whether you’re serving it at brunch or enjoying it as an afternoon snack, Judy’s Homemade Brioche is sure to impress everyone who tastes it!
So roll up your sleeves, gather your ingredients, and embark on this delicious two-day journey—you won’t regret it!
PrintJudy’s Homemade Brioche Recipe
Homemade brioche takes some patience, but it’s so rewarding when it comes out perfectly soft and buttery.
- Prep Time: 2 days
- Cook Time: 40 minutes
- Total Time: 2 days 40 minutes
- Yield: 20 servings
- Category: Bread
- Method: Baking
- Cuisine: French
- Diet: Vegetarian
Ingredients
- 6 eggs (at room temperature)
- 1 cup unsalted butter (2 sticks/½ pound/230g, at room temperature)
- 4 ¾ cups all-purpose flour (620g, divided)
- 1 tablespoon active dry yeast (9g)
- ¼ cup granulated sugar (50g)
- 1½ teaspoons salt (8g)
- ½ cup warm water (120 ml, about 120°F/49°C)
- 2 teaspoons sugar (10g, dissolved in 1 tablespoon/15 ml water)
Instructions
Take out eggs and butter a few hours before starting to bring them to room temperature. Prepare all other ingredients.
In the bowl of an electric mixer with a paddle attachment, mix together 1 cup flour (130g), yeast, sugar, salt, and warm water. Mix on medium speed for a couple of minutes until well combined.
Add in 1 egg at a time, ensuring each egg is fully incorporated before adding the next.
Set the mixer to low and add 2 cups of flour (260g), ¼ cup at a time, mixing until well combined.
Cut the softened butter into small cubes. With the mixer on medium, add the butter in 6 separate batches, incorporating each before adding more.
Set the mixer to low and add the remaining 1¾ cups flour (230g), ¼ cup at a time, until the dough is well combined. The dough will be very sticky.
Scrape down the bowl, cover, and let proof at room temperature (70°F/21°C) for 3 hours until doubled in size.
Punch down the dough, cover, and refrigerate overnight until 3 hours before baking.
Day 2:
Remove dough from the refrigerator and divide it into two equal pieces. Shape each piece on a lightly floured surface and place into a 9″ x 5″ loaf pan.
Cover with plastic wrap and let proof at room temperature for 2½ to 3 hours until doubled in size.
Preheat oven to 350°F/180°C.
Bake in the center of the oven for 37-40 minutes. Tent with foil if the crust darkens too quickly.
Mix sugar and water until sugar is dissolved. Immediately brush the bread with the sugar water after baking.
Let the bread cool in the pan for 5 minutes before transferring to a wire rack.
Once completely cooled, store in an airtight container or zip-lock bag.
Notes
Recipe makes 2 loaves.
This bread is best served slightly warm with butter.
Nutrition
- Serving Size: 1 slice
- Calories: 220 kcal
- Sugar: 3g
- Sodium: 195mg
- Fat: 11g
- Saturated Fat: 6g
- Unsaturated Fat: 4g
- Trans Fat: 0g
- Carbohydrates: 26g
- Fiber: 1g
- Protein: 5g
- Cholesterol: 74mg


Leave a Comment