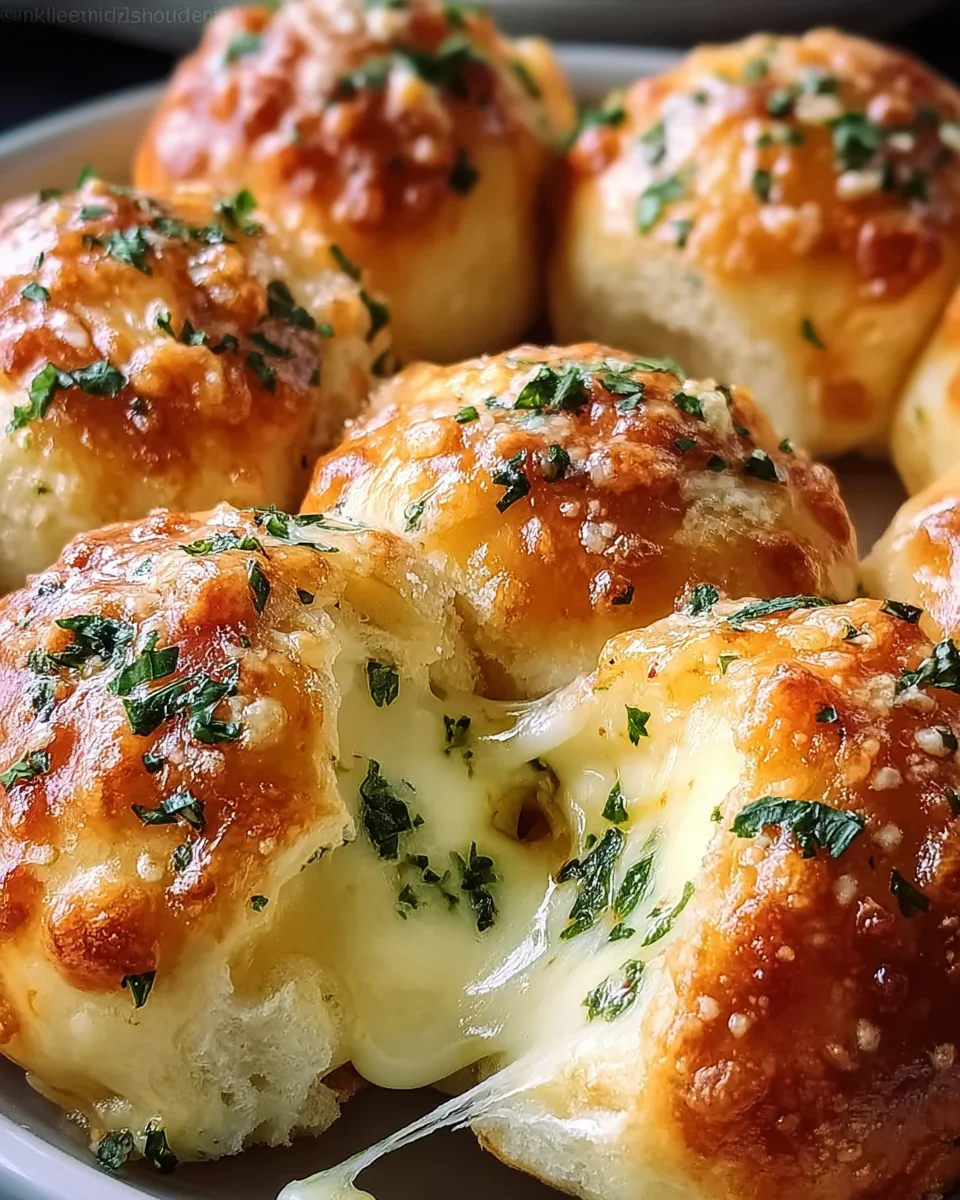
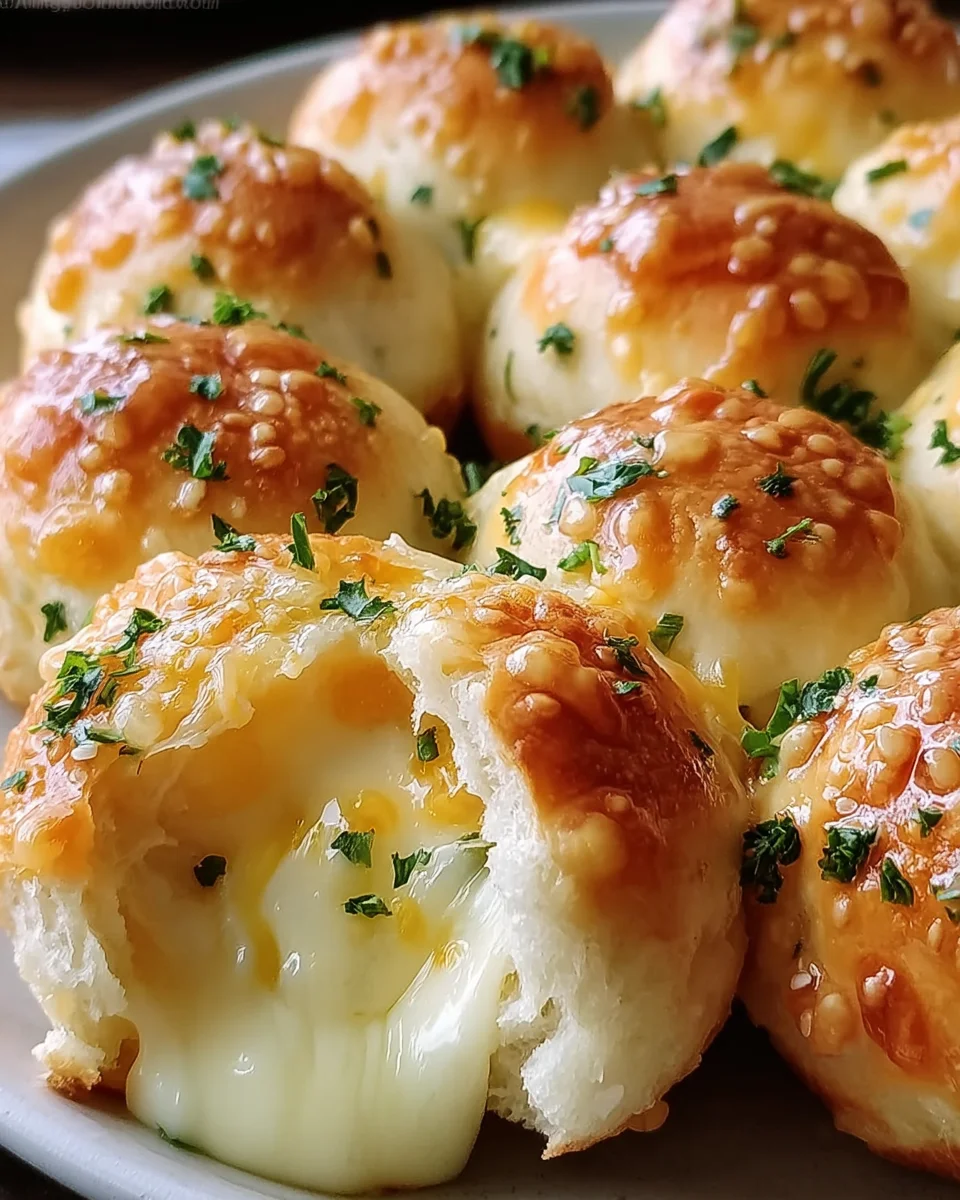
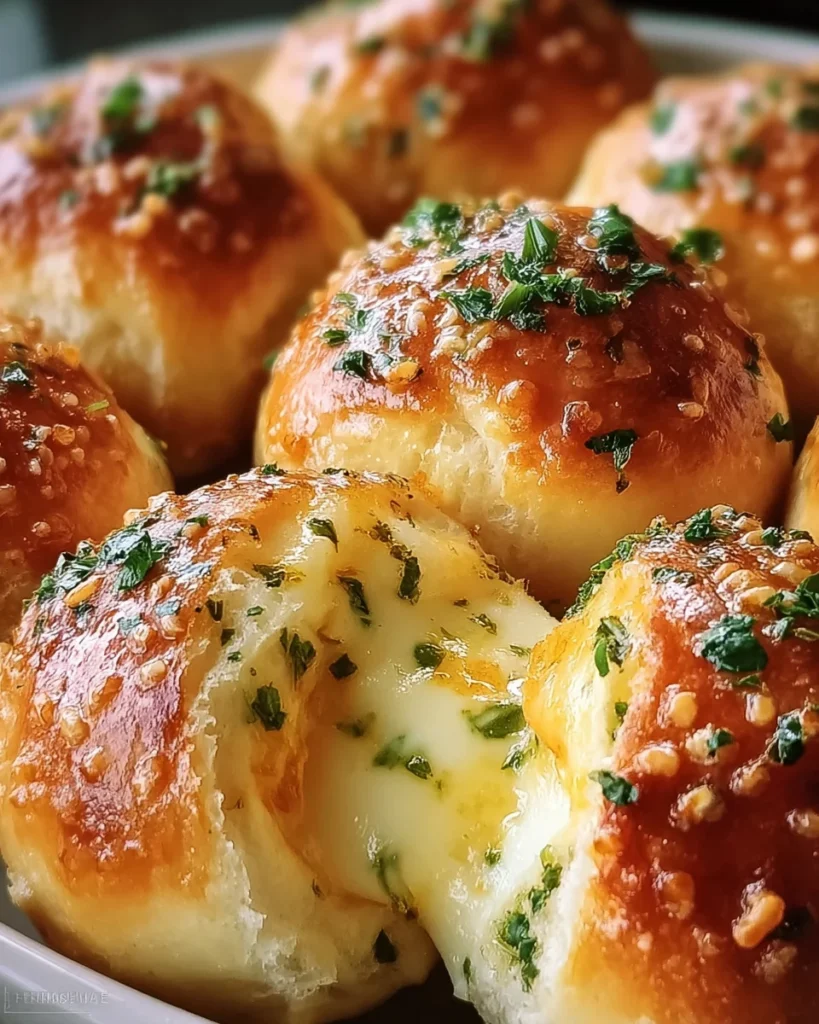
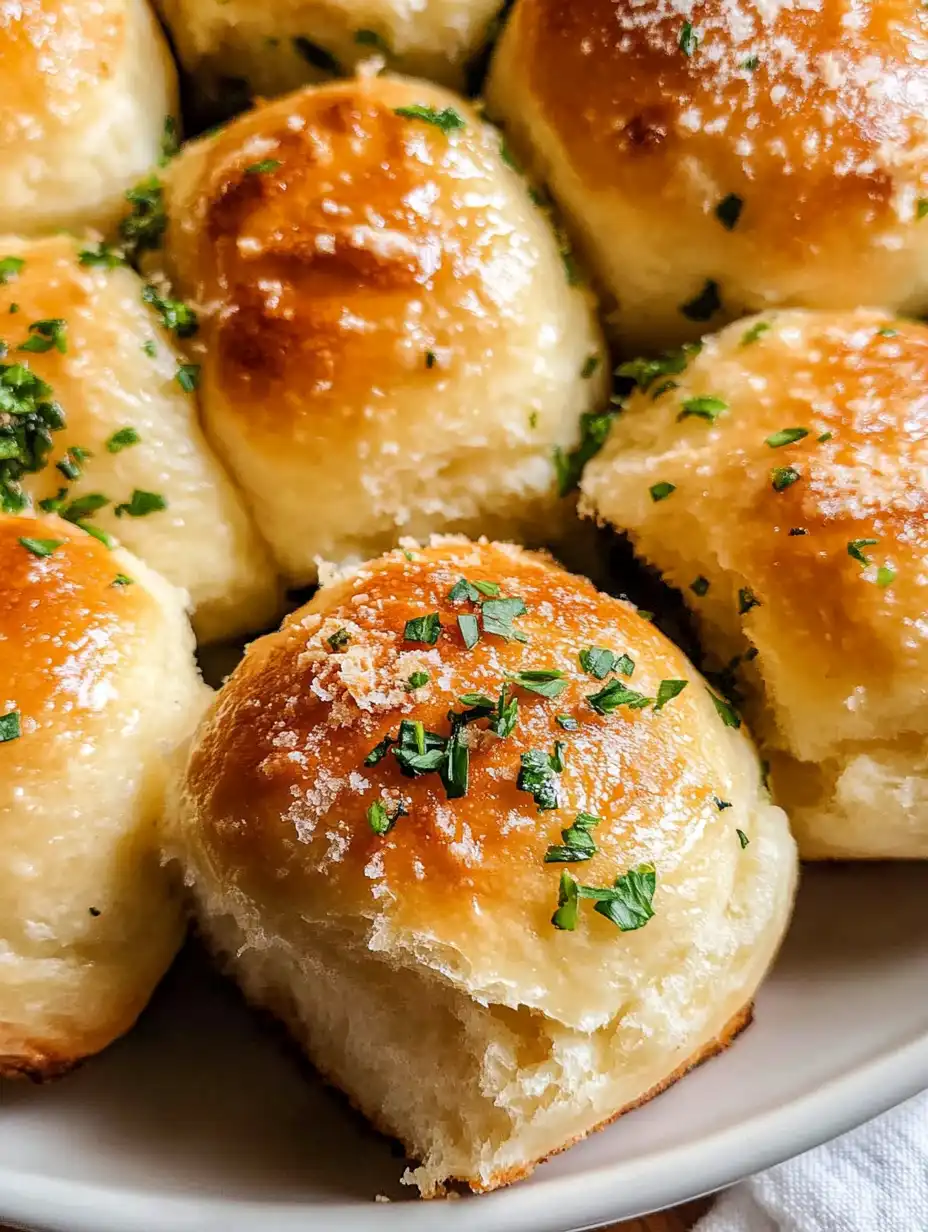
These Cheesy Bombs are the ultimate snack or appetizer, perfect for any gathering or casual family meal. Stuffed with gooey mozzarella cheese and brushed with rich garlic butter, they promise to be a crowd-pleaser. Whether you’re hosting a brunch, watching a game, or simply craving something cheesy and delicious, these bombs are sure to impress.
Why You’ll Love This Recipe
- Quick Preparation: These cheesy garlic bombs require minimal prep time, making them ideal for last-minute gatherings.
- Delicious Flavor: The combination of melted mozzarella and garlic butter creates an irresistible flavor profile that everyone will love.
- Versatile Snack: Perfect as an appetizer, snack, or even for breakfast—these bombs fit any occasion.
- Easy to Make: With straightforward steps and simple ingredients, anyone can whip up these tasty treats.
- Impressive Presentation: Golden-brown on the outside and oozy on the inside, these cheesy bombs look as good as they taste.
Tools and Preparation
Before you start making your cheesy bombs, gather the necessary tools to ensure a smooth cooking experience.
Essential Tools and Equipment
- Baking sheet
- Parchment paper
- Microwave-safe dish or saucepan
- Plastic wrap
Importance of Each Tool
- Baking sheet: Essential for evenly baking your cheesy bombs without sticking.
- Parchment paper: Helps prevent sticking and makes cleanup quick and easy.
- Microwave-safe dish: Ideal for melting butter without creating a mess.
Ingredients
These Cheesy Garlic Bombs are stuffed with mozzarella cheese and brushed with a rich garlic butter. Easy to make and perfect as a snack or appetizer.
For the Dough
- 8 frozen Texas rolls (thawed, Rhodes brand recommended)
For the Filling
- 4 sticks mozzarella cheese, cut into 16 pieces
For the Topping
- 4 tablespoons salted butter, melted
- 2 cloves garlic, minced
- 1 tablespoon parsley flakes (freshly chopped or dried)
How to Make Cheesy Bombs
Step 1: Thaw the Rolls
Place the frozen rolls on a plate, cover with plastic wrap, and refrigerate for at least 4 hours or overnight.
Step 2: Preheat the Oven
Preheat your oven to 350°F and line a baking sheet with parchment paper.
Step 3: Prepare the Cheese
Cut the mozzarella sticks into approximately 1-inch pieces.
Step 4: Flatten the Dough
Using your hands, flatten each dough ball into a round disk.
Step 5: Add Cheese Filling
Place two pieces of cheese in the center of each flattened dough disk.
Step 6: Seal the Dough Balls
Pinch the edges firmly together to seal in the cheese. Place the sealed dough balls seam side down on the baking sheet.
Step 7: Bake Them
Bake the rolls for 9-11 minutes, or until they start to brown.
Step 8: Make Garlic Butter Mixture
While the rolls are baking, melt the butter in a microwave-safe dish or saucepan. Stir in the minced garlic and parsley flakes once melted.
Step 9: Brush with Butter
After removing the rolls from the oven once browned, brush each one evenly with the garlic butter mixture.
Step 10: Serve Warm
Allow the cheesy garlic bombs to cool slightly before serving. Enjoy!
How to Serve Cheesy Bombs
Cheesy Bombs are an irresistible treat that can be enjoyed in various ways. Whether you’re entertaining guests or enjoying a cozy night in, these cheesy delights can be paired with a variety of accompaniments to enhance the experience.
With Dipping Sauces
- Marinara Sauce: A classic pairing, marinara adds a tangy flavor that complements the cheesy goodness.
- Ranch Dressing: Creamy ranch provides a cool contrast, perfect for those who love a bit of zing.
- Garlic Aioli: For garlic lovers, aioli adds an extra layer of flavor that’s simply divine.
As a Party Platter
- Cheese Board: Include assorted cheeses and crackers alongside your Cheesy Bombs for a delightful spread.
- Vegetable Sticks: Fresh veggies like carrots and celery add crunch and color to your appetizer table.
- Charcuterie Selection: Add cured meats for a savory touch that pairs well with the richness of the bombs.
With Salads
- Caesar Salad: The crisp romaine and creamy dressing make it a fantastic partner for your cheesy bites.
- Mixed Green Salad: A light salad with vinaigrette offers a fresh contrast to the warm, cheesy treats.
How to Perfect Cheesy Bombs
Getting the perfect Cheesy Bombs takes just a few simple tips. Follow these suggestions to elevate your dish and impress your guests.
- Use Fresh Ingredients: Always opt for high-quality mozzarella cheese and fresh garlic for the best flavor.
- Don’t Overcrowd the Baking Sheet: Leave space between each bomb on the baking sheet to ensure even cooking and browning.
- Monitor Baking Time: Keep an eye on your bombs while baking; every oven is different and they can brown quickly.
- Experiment with Fillings: Try adding herbs or spices inside for extra flavor; consider Italian seasoning or crushed red pepper flakes.
- Brush Generously with Garlic Butter: Don’t skimp on the garlic butter topping; it makes all the difference in taste!
- Serve Warm: Enjoy them fresh out of the oven while they’re still warm and gooey for maximum deliciousness.
Best Side Dishes for Cheesy Bombs
Pairing side dishes with your Cheesy Bombs can create a well-rounded meal. Here are some great options to consider:
- Garlic Bread: This buttery, toasted bread is perfect for soaking up any leftover sauce from your bombs.
- Potato Wedges: Crispy potato wedges provide a hearty side that complements the lightness of the cheesy snacks.
- Coleslaw: A tangy slaw adds crunch and brightness, balancing out the rich flavors of the bombs.
- Stuffed Mushrooms: These savory bites offer another cheesy option that pairs beautifully with Cheesy Bombs.
- Pasta Salad: A cold pasta salad brings freshness and variety to your meal, making it more satisfying.
- Fruit Salad: A sweet fruit salad provides a refreshing contrast to the savory flavors of your cheesy treats.
Common Mistakes to Avoid
Making Cheesy Bombs can be easy, but avoiding common mistakes ensures delicious results.
- Ignoring Thawing Time – Not allowing the frozen rolls to thaw properly can lead to undercooked dough. Ensure they are refrigerated for at least 4 hours or overnight.
- Overstuffing Cheese – Adding too much mozzarella can make sealing difficult, leading to leaks. Stick to two pieces of cheese per roll for best results.
- Inconsistent Baking Times – Every oven is different, so keep an eye on your bombs. Bake until they are golden brown, usually around 9-11 minutes.
- Skipping the Garlic Butter – The garlic butter is essential for flavor. Don’t skip this step; brush it evenly over the baked bombs for a rich taste.
- Not Pinching Edges Well – If the edges aren’t sealed tightly, the cheese may ooze out during baking. Pinch them firmly to secure the filling inside.
Storage & Reheating Instructions
Refrigerator Storage
- Store cheesy bombs in an airtight container.
- They will keep well for up to 3 days in the refrigerator.
Freezing Cheesy Bombs
- Place uncooked cheesy bombs on a baking sheet and freeze until solid.
- Transfer them to a freezer-safe bag or container; they last up to 2 months.
Reheating Cheesy Bombs
- Oven – Preheat your oven to 350°F and bake for about 5-7 minutes until heated through.
- Microwave – Heat each bomb for about 30 seconds; check if they’re warm enough before serving.
- Stovetop – Place them in a skillet over medium heat with a lid for a few minutes until warmed.
Frequently Asked Questions
Here are some frequently asked questions about making Cheesy Bombs.
What cheese works best for Cheesy Bombs?
Mozzarella is ideal due to its melting properties, but you can also mix in cheddar or pepper jack for added flavor.
Can I make Cheesy Bombs ahead of time?
Yes! Prepare and freeze them before baking. Just bake straight from frozen when you’re ready to enjoy them.
How do I customize my Cheesy Bombs?
Feel free to add cooked meats or vegetables inside the dough along with the cheese for different flavors.
Are there any dipping sauces that go well with Cheesy Bombs?
Absolutely! Marinara sauce, ranch dressing, or garlic aioli make excellent dipping options.
Final Thoughts
These Cheesy Bombs are not just easy to make; they are also incredibly versatile as snacks or appetizers. You can customize them with different cheeses or fillings, making them perfect for any occasion. Give this recipe a try and enjoy the gooey goodness!
Cheesy Bombs
Cheesy Bombs are the ultimate crowd-pleasing snack or appetizer that combines gooey mozzarella cheese with a rich garlic butter topping. Perfect for game days, brunch, or a cozy family night, these delightful bites are easy to prepare and sure to impress everyone at your gathering. With just a few simple ingredients and straightforward steps, you can create these irresistible cheesy treats in no time. Serve them warm with your favorite dipping sauces for an unforgettable flavor experience!
- Prep Time: 10 minutes
- Cook Time: 11 minutes
- Total Time: 21 minutes
- Yield: Makes approximately 8 servings
- Category: Snack/Appetizer
- Method: Baking
- Cuisine: American
Ingredients
- 8 frozen Texas rolls (thawed)
- 4 sticks mozzarella cheese (cut into 16 pieces)
- 4 tablespoons salted butter (melted)
- 2 cloves garlic (minced)
- 1 tablespoon parsley flakes (freshly chopped or dried)
Instructions
- Thaw the frozen rolls by placing them on a plate, covering with plastic wrap, and refrigerating for at least 4 hours or overnight.
- Preheat your oven to 350°F and line a baking sheet with parchment paper.
- Cut the mozzarella sticks into approximately 1-inch pieces.
- Flatten each thawed dough ball into a round disk using your hands.
- Place two pieces of cheese in the center of each flattened disk.
- Pinch the edges firmly to seal the cheese inside, placing seam side down on the prepared baking sheet.
- Bake for 9-11 minutes, until golden brown.
- While baking, melt butter in a microwave-safe dish; stir in minced garlic and parsley flakes once melted.
- Brush each baked bomb with the garlic butter mixture before serving warm.
Nutrition
- Serving Size: 1 serving
- Calories: 150
- Sugar: 0g
- Sodium: 260mg
- Fat: 8g
- Saturated Fat: 5g
- Unsaturated Fat: 3g
- Trans Fat: 0g
- Carbohydrates: 15g
- Fiber: 1g
- Protein: 5g
- Cholesterol: 15mg

Leave a Comment