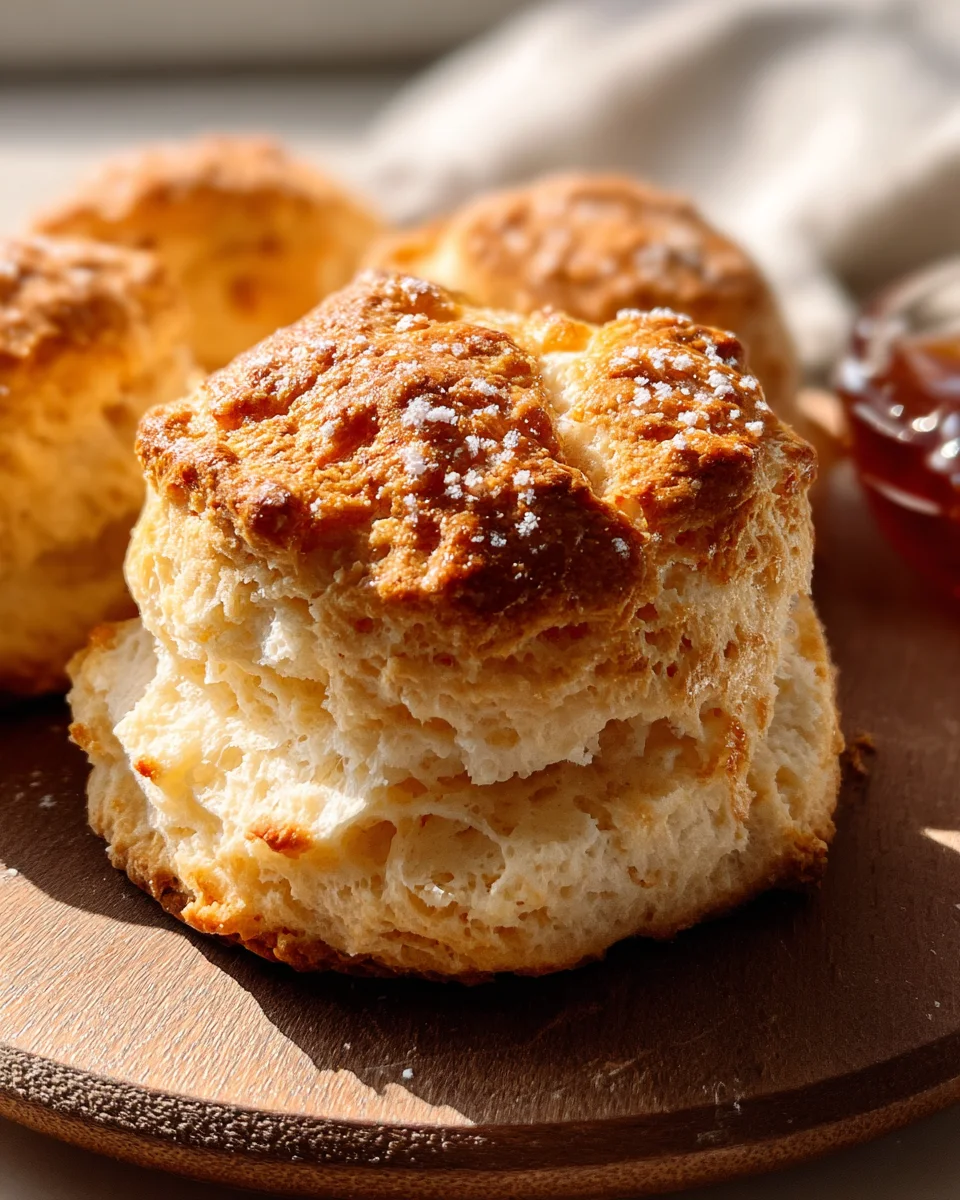
This Classic Scone Recipe strikes the perfect balance of flavor and texture, making it a delightful addition to any gathering. Whether you’re hosting a tea party or simply enjoying a quiet afternoon treat, these scones are crispy on the outside and tender on the inside. With the option to customize with your favorite add-ins, this recipe is versatile and easy to follow, ensuring delicious results every time.

Why You’ll Love This Recipe
- Easy to Make: This classic scone recipe requires simple ingredients and minimal steps, making it perfect for both beginners and seasoned bakers.
- Versatile Options: Customize your scones with various add-ins like dried fruit, chocolate chips, or nuts for a personal touch.
- Perfect for Any Occasion: Whether it’s a brunch gathering or an afternoon tea, these scones fit right in at any event.
- Deliciously Flaky Texture: The cold butter and gentle mixing create perfectly flaky layers that melt in your mouth.
- Quick Baking Time: With only 12-15 minutes in the oven, you can enjoy warm scones in no time!
Tools and Preparation
Before you start baking your delicious scones, gather your tools. Having the right equipment will help ensure success in your classic scone recipe.
Essential Tools and Equipment
- Mixing bowls
- Whisk
- Pastry cutter or fork
- Baking sheet
- Parchment paper
Importance of Each Tool
- Mixing bowls: Essential for combining dry and wet ingredients without mess.
- Pastry cutter: Helps incorporate butter into flour evenly, which is key for flaky texture.
- Baking sheet: Provides a sturdy surface for baking your scones evenly.
Ingredients
This classic scone recipe provides the best balance of flavor and texture—crispy on the outside and tender on the inside. The cold butter and gentle mixing ensure flaky, light scones that are perfect for tea parties. It’s a simple yet classic version that allows for flexibility with add-ins, making it great for any occasion.
Ingredients:
– 2 cups all-purpose flour
– 1/4 cup granulated sugar
– 1 tablespoon baking powder
– 1/2 teaspoon salt
– 1/2 cup (1 stick) cold unsalted butter, cut into small cubes
– 1/2 cup heavy cream or buttermilk (plus more for brushing the tops)
– 1 large egg
– 1 teaspoon vanilla extract (optional for added flavor)
– Optional: 1/2 cup of add-ins like dried fruit (chocolate chips or nuts)
How to Make Classic Scone Recipe
Step 1: Preheat the Oven
Preheat your oven to 400°F (200°C) and line a baking sheet with parchment paper to prevent sticking.
Step 2: Mix Dry Ingredients
In a large bowl:
Whisk together the flour, sugar, baking powder, and salt. Ensure they are well combined.
Step 3: Cut in the Butter
Add the cold, cubed butter to the dry ingredients:
Using a pastry cutter or your fingers, work the butter into the flour mixture until it resembles coarse crumbs.
Aim for pea-sized pieces of butter throughout; this step is crucial for creating flaky scones.
Step 4: Mix Wet Ingredients
In a separate small bowl:
Whisk together the heavy cream (or buttermilk), egg, and vanilla extract (if using).
Step 5: Combine Mixtures
Slowly pour the wet ingredients into the dry mixture:
Stir gently with a spatula or wooden spoon until just combined.
If adding fruits or nuts, fold them in now. Avoid overworking the dough to keep it light.
Step 6: Form the Scones
Turn out the dough onto a lightly floured surface:
Gently pat it into a 1-inch thick disc.
Cut into 8 wedges or use a round cookie cutter for traditional shapes.
Step 7: Brush and Bake
Transfer to your prepared baking sheet:
Brush tops with extra cream to encourage browning.
Bake for 12-15 minutes until golden brown around edges.
Step 8: Cool and Serve
Allow cooling on the baking sheet for a few minutes before serving:
Enjoy your classic scones warm with clotted cream, jam, or butter!
How to Serve Classic Scone Recipe
Serving your freshly baked Classic Scone Recipe can be a delightful experience. Scones are versatile and can be enjoyed in various ways, whether for breakfast, brunch, or afternoon tea. Here are some fantastic ideas to enhance your scone serving experience.
With Clotted Cream
- Clotted cream is a rich, thick cream that pairs beautifully with scones. Spread it generously on each scone for a luxurious treat.
With Jam
- A dollop of your favorite jam adds sweetness and flavor. Strawberry, raspberry, or apricot jams are classic choices that complement the scones perfectly.
With Fresh Fruit
- Serve sliced fruits like strawberries, blueberries, or raspberries alongside your scones for a fresh and vibrant touch.
With Tea or Coffee
- Pairing scones with a cup of tea or coffee can elevate your snack time. Consider English breakfast tea or a light roast coffee to balance the flavors.
As Part of a Brunch Spread
- Include scones in a larger brunch spread with other pastries, cheeses, and fruits. They make an excellent addition to any gathering.
With Honey or Maple Syrup
- Drizzle some honey or maple syrup over the scones for added sweetness. This combination works especially well if you’ve made savory scones.

How to Perfect Classic Scone Recipe
To achieve the ultimate Classic Scone Recipe, consider these helpful tips for perfect results every time.
- Use cold ingredients: Cold butter and cream help create that flaky texture you desire in scones.
- Don’t overmix: Mix just until combined to avoid tough scones; gentle handling is key.
- Cut straight down: When cutting the dough into wedges, cut straight down without twisting to maintain their rise.
- Preheat the oven: Ensure your oven is fully preheated to get that lovely golden-brown color on the outside.
- Brush with cream: Brushing the tops with extra cream will help them brown beautifully while baking.
- Experiment with flavors: Feel free to add spices like cinnamon or nutmeg for an exciting twist on the classic recipe.
Best Side Dishes for Classic Scone Recipe
Enjoying your Classic Scone Recipe can be even better with delicious side dishes. Here are some great options to consider:
- Fruit Salad – A mix of fresh seasonal fruits adds color and freshness to your meal.
- Scrambled Eggs – Light and fluffy scrambled eggs provide protein and pair well with sweet scones.
- Yogurt Parfait – Layer yogurt with granola and berries for a refreshing side that complements the richness of the scones.
- Savory Cheese Platter – Include assorted cheeses like brie or cheddar for those who enjoy savory pairings.
- Vegetable Sticks – Crisp vegetable sticks such as cucumbers and bell peppers offer a healthy crunch beside sweet treats.
- Soup – A light soup can balance out the richness of the scones—consider tomato basil or butternut squash soup.
- Pâté – For an elegant touch, serve pâté alongside crackers as an appetizer before indulging in scones.
- Muffins – Offer mini muffins as additional options—a fun way to diversify your brunch table!
Common Mistakes to Avoid
Making scones can be a delightful experience, but there are common mistakes that can lead to disappointing results.
- Ignoring ingredient temperature: Using warm butter or milk can result in dense scones. Always use cold butter and cream to achieve the right texture.
- Overmixing the dough: Mixing too much can lead to tough scones. Combine ingredients until just moistened for a light and flaky texture.
- Skimping on baking powder: Baking powder is essential for rising. Ensure it’s fresh and measure accurately to avoid flat scones.
- Not preheating the oven: Baking in an unheated oven can affect the rise. Always preheat your oven for perfect, golden-brown scones.
- Cutting the scones improperly: Cutting them too small or unevenly can lead to inconsistent baking. Aim for uniform wedges or rounds for even cooking.
Storage & Reheating Instructions
Refrigerator Storage
- Store in an airtight container for up to 3 days.
- Place parchment paper between layers if stacking.
Freezing Classic Scone Recipe
- Wrap each cooled scone tightly in plastic wrap.
- Freeze for up to 2 months for best quality.
Reheating Classic Scone Recipe
- Oven: Preheat the oven to 350°F (175°C) and heat scones for about 10 minutes until warmed through.
- Microwave: Heat individual scones on a microwave-safe plate for about 15-20 seconds.
- Stovetop: Place scones in a skillet over low heat, cover, and warm for about 5 minutes.
Frequently Asked Questions
Here are some common questions about making this classic scone recipe.
How can I customize my Classic Scone Recipe?
You can add various ingredients like dried fruit, chocolate chips, or nuts to personalize your scones. Just make sure not to exceed 1/2 cup of add-ins.
Can I use whole wheat flour instead of all-purpose flour?
Yes, you can substitute half of the all-purpose flour with whole wheat flour for a nuttier flavor and added nutrition. Keep in mind this may change the texture slightly.
What is the best way to serve Classic Scone Recipe?
Serve warm with clotted cream, butter, or your favorite jam. They pair beautifully with tea or coffee!
How do I know when my scones are done baking?
Look for a golden-brown color around the edges and a slight rise in the center. A toothpick inserted should come out clean.
Final Thoughts
This Classic Scone Recipe is not only delicious but also versatile. Its flaky texture and balance of flavors make it perfect for any occasion, from afternoon tea to breakfast. Feel free to customize with your favorite add-ins, making it uniquely yours. Give this simple yet elegant recipe a try!
Classic Scone Recipe

Indulge in the delightful taste of our Classic Scone Recipe, where crispy exteriors meet tender interiors for an irresistible treat. Ideal for any occasion—afternoon tea, brunch gatherings, or a cozy snack at home—these scones are incredibly easy to make with simple ingredients. Customize them with your favorite add-ins like dried fruits or chocolate chips to add a personal touch. With a quick baking time of just 12-15 minutes, you’ll be enjoying warm, flaky scones in no time. Serve them with clotted cream and jam for an authentic experience or simply enjoy them plain. This timeless recipe guarantees delicious results every time!
- Prep Time: 10 minutes
- Cook Time: 15 minutes
- Total Time: 25 minutes
- Yield: About 8 servings
- Category: Dessert
- Method: Baking
- Cuisine: British
Ingredients
- 2 cups all-purpose flour
- 1/4 cup granulated sugar
- 1 tablespoon baking powder
- 1/2 teaspoon salt
- 1/2 cup cold unsalted butter, cubed
- 1/2 cup heavy cream or buttermilk
- 1 large egg
- Optional: 1/2 cup add-ins (dried fruit, chocolate chips)
Instructions
- Preheat your oven to 400°F (200°C) and line a baking sheet with parchment paper.
- In a large bowl, whisk together flour, sugar, baking powder, and salt.
- Cut in the cold butter using a pastry cutter until the mixture resembles coarse crumbs.
- In another bowl, whisk together cream (or buttermilk), egg, and vanilla extract.
- Pour wet ingredients into dry ingredients and stir gently until just combined; fold in any add-ins if desired.
- Turn dough onto a floured surface and pat it into a 1-inch thick disc; cut into wedges or circles.
- Place on the prepared baking sheet, brush tops with extra cream, and bake for 12-15 minutes until golden brown.
- Cool slightly before serving warm.
Nutrition
- Serving Size: 1 serving
- Calories: 220
- Sugar: 5g
- Sodium: 150mg
- Fat: 10g
- Saturated Fat: 6g
- Unsaturated Fat: 4g
- Trans Fat: 0g
- Carbohydrates: 30g
- Fiber: 1g
- Protein: 4g
- Cholesterol: 40mg


Leave a Comment