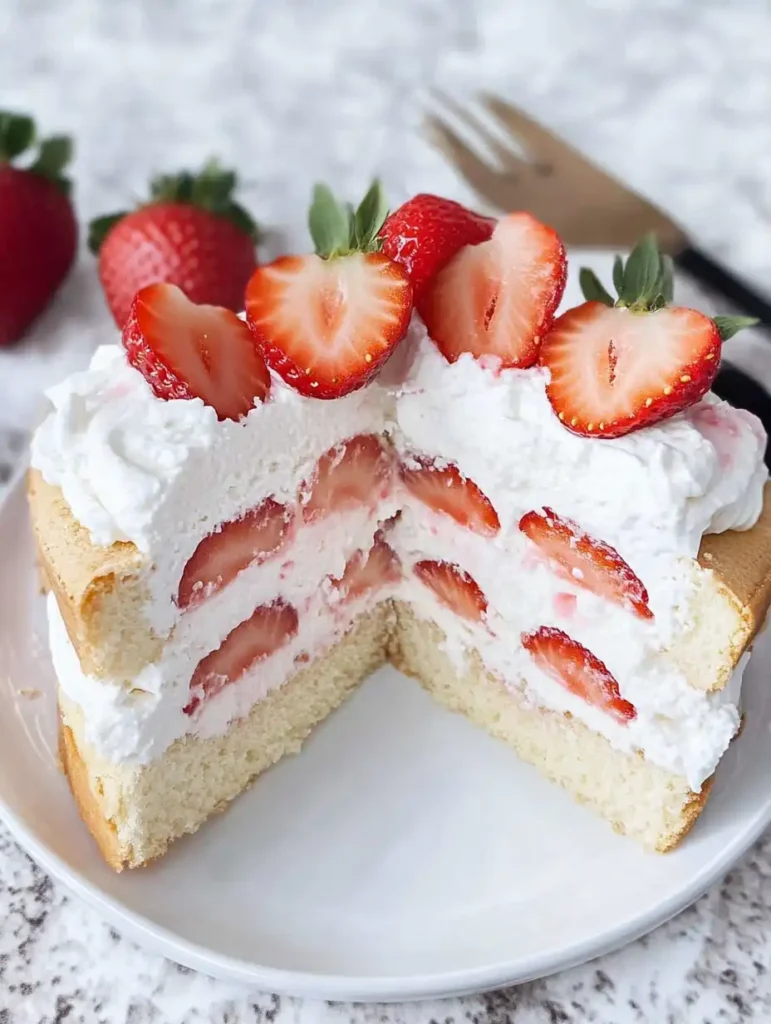
If you’re on the hunt for a simple yet exquisite dessert or snack, look no further than the Japanese Strawberry Sando. This delightful treat combines fluffy milk bread with thick whipped cream and sweet strawberries, creating a visually stunning and delicious indulgence.
With only four ingredients, this recipe is not only easy to make but also adaptable to suit dietary preferences. Let’s dive into how you can whip up this delectable dessert in just 10 minutes!
Ingredients You’ll Need
- 2 thick slices of milk bread: You can also use regular thick white bread, like Texas toast, for this recipe.
- 5 strawberries: Ensure the tops are removed for easy preparation.
- 1 tablespoon white granulated sugar: This adds just the right amount of sweetness to the whipped cream.
- ½ cup whipping cream or heavy cream: If you’re looking for a dairy-free option, check out the substitute in the notes below.
Step-by-Step Instructions
1. Prepare Your Whipped Cream
Begin by adding chilled whipping cream and white granulated sugar to a large bowl. Whisk until you achieve firm stiff peaks, but be careful not to over whip. For those with an electric hand mixer or stand mixer, start on low speed and gradually increase to medium-high speed for best results. Once whipped, place the cream in the fridge to keep it chilled while you prepare the other ingredients.
2. Prepare the Bread
Using a sharp or serrated knife, carefully slice off the crusts from your bread. This ensures a soft and uniform texture for your sando.
3. Assemble the Sando
Lay a large sheet of plastic wrap on a cutting board and place one slice of bread on top. Spread a thin layer of whipped cream over the bread. Next, arrange the strawberries in an ‘X’ shape, ensuring they all point in the same direction—this will be key when slicing later.
Cover the strawberries with more chilled whipped cream, filling all gaps. Place the second slice of bread on top and fill any remaining holes with additional whipped cream, especially around the edges and corners.
4. Wrap and Chill
Tightly wrap the sandwich with plastic wrap. To remember the direction of the strawberries, draw a diagonal line on the plastic wrap. Allow the sandwich to rest in the fridge for at least 30 minutes to set the cream; alternatively, you can quick-freeze it for 15 minutes if you’re short on time.
5. Slice and Serve
After chilling, remove the plastic wrap and slice the sandwich along the drawn diagonal line using a large sharp or serrated knife. Your Strawberry Sando is now ready to be enjoyed!
Notes
Dairy-Free Substitute
For those avoiding dairy, replace the whipped cream with one can of full-fat coconut milk that has been chilled overnight. Use only the solid fat portion when whipping, and do so in a very cold bowl for optimal results.
Storage Tips
This sandwich is best enjoyed immediately as the whipped cream tends to melt quickly. However, if you have extras, wrap them tightly in plastic wrap and store them in the back of the fridge for up to two days. Beyond that, the bread may become soggy. Freezing for extended periods is not recommended as it can make the strawberries and bread mushy.
Conclusion
The 4-ingredient Strawberry Sando is not just a treat for your taste buds but also a feast for your eyes. Perfect for any occasion or simply as a delightful snack, this Japanese-inspired dessert is sure to impress with its simplicity and flavor. Whether you’re sticking to traditional ingredients or opting for a dairy-free version, this recipe promises satisfaction with every bite. Enjoy your culinary creation!
Print4-ingredient Strawberry Sando
Fluffy milk bread stuffed with thick whipped cream and sweet strawberries. This Japanese strawberry sando is delicious and made with only 4-simple ingredients. A delightful dessert or snack stunning to the eye! -Dairy-free adaptable with a substitute below-
- Prep Time: 10 minutes
- Cook Time: 0 minutes
- Total Time: 10 minutes
- Yield: 1 serving
- Category: Dessert
- Method: No-Cook
- Cuisine: Japanese
- Diet: Vegetarian
Ingredients
- 2 thick slices milk bread or regular thick white bread, like Texas toast
- 5 strawberries with tops removed
- 1 tablespoon white granulated sugar
- ½ cup whipping cream or heavy cream chilled (or see dairy-free sub in Notes section below)
Instructions
In a large bowl, add chilled whipping cream and white granulated sugar. Whisk until you have firm stiff peaks but don’t over whip it. Chill the cream in the fridge as you prepare the other ingredients. Tip: if you have an electric hand mixer or stand mixer, start whisking on low speed and work your way up to medium-high speed.
Slice off the bread crusts off with a sharp knife or serrated knife.
Lay out a large sheet of plastic wrap on a cutting board and place a slice of bread on top. Spread a thin layer of the whipped cream on top of the bread and then place the strawberries in an ‘X’ shape pointing in the same direction. Remember which direction they’re pointing in.
Cover the strawberries with the chilled whipped cream ensuring all holes are filled. Cover with the remaining slice of bread and fill in any gaping holes with more whipped cream, especially on the sides and corners.
Tightly wrap the sandwich with plastic wrap. Draw a diagonal line on the plastic wrap indicating which direction the strawberries are pointing. Rest the sandwich in the back of the fridge for at least 30 minutes or 2-3 hours (or overnight) to set the cream. You can also quick-freeze it for 15 minutes.
Remove the plastic wrap. Slice the sandwich where the diagonal line was with a large sharp knife or serrated knife. Enjoy immediately!
Notes
Dairy-Free Substitute
Substitute the whipped cream with 1 can of full fat coconut milk that has been chilled overnight in the fridge. Only use the fat portion and not the liquids when whipping and whip in a very cold bowl.
Storage
This sandwich is best consumed immediately as the whipped cream will melt. But if you made extra sandwiches, wrap them tightly in plastic wrap and store them in the back of the fridge and they will last up to 2 days. Any longer and the bread will go soggy.
Freezer-friendly?
I don’t recommend freezing the sandwich for prolonged periods of time as the strawberries and bread will go mushy.
Nutrition
- Serving Size: 1 sandwich
- Calories: 495 kcal
- Sugar: 18 g
- Sodium: 210 mg
- Fat: 30 g
- Saturated Fat: 18 g
- Unsaturated Fat: 10 g
- Trans Fat: 0 g
- Carbohydrates: 48 g
- Fiber: 2 g
- Protein: 6 g
- Cholesterol: 70 mg


Leave a Comment